Nowadays, account security is a major concern for companies and their employees. It can pose a major threat to your employer if you're hacked -- if someone hacks your Gmail account, for instance, he will have access to company contacts, as well as your calendar, Google Docs, Google Sheets, and other private company information.
For this reason, Duo Mobile and other two-factor authentication apps have risen in popularity.
Two-factor authentication (or 2FA) is a safety process you can enable on any of your devices, including your iPhone, Mac, Gmail account, or social media accounts like Facebook. And it's a smart idea, too -- particularly since the total cost of a successful cyber attack is over $5 million, or $301 per employee.
Here, we're going to tell you what two-factor authentication is, and how you can enable (or disable) it on any of your accounts, to ensure your information is protected in 2019 and beyond.
What is two-factor authentication?
To understand what two-factor authentication is, let's start with an analogy.
Imagine you live in a dangerous neighborhood, and you only have one lock on your door. Alternatively, your neighbor down the street has a top and bottom lock, and each lock requires a separate key -- which means, to break into his apartment, you need to break into two locks, not just one.
Who's safer?
Ultimately, two-factor authentication is your neighbor's top and bottom lock -- but for your online accounts. It significantly decreases the risk of getting hacked by combining two methods of protection.
Two-factor authentication uses two methods to ensure you're the correct user. It combines something you know (i.e. a password), with something you have (i.e. a mobile phone), or something you are (i.e. facial recognition).
For instance, to access my online school account, I need to open the Duo Mobile app on my phone, and input my school account's password -- while a hacker might be able to guess my password, he's going to have a tougher time hacking into my phone, as well.
Gmail two-factor authentication
- To install Gmail two-factor authentication, click here.
- Next, click the "Get Started" button.
- Input your phone number, and then choose whether you want to receive texts or phone calls.
- Alternatively, select "Security Key" or "Google Prompt" if you don't want to use your cell phone.
- If you chose to input your phone number, click "Next" and then you'll receive a code on your phone. Input the code and click "Next".
- Select "Turn On" to enable two-factor authentication for your Gmail account.
Apple two-factor authentication
- To install two-factor authentication for your Apple ID on your Mac, go to "System Preferences" and then "iCloud".
- Then, select "Account Details" > "Security" and click "Turn On Two-Factor Authentication".
- To install two-factor authentication for your Apple ID on your iPhone or iPad, go to "Settings" > "[Your Name]" > "Password & Security".
- Then, click "Turn On Two-Factor Authentication".
Facebook two-factor authentication
- To install two-factor authentication for your Facebook account, go to "Settings" and then "Security and Login".
- Beside "Use two-factor authentication" click "Edit". Then, select "Get Started".
- Next, choose whether you want to receive a text message or use a third-party authentication app. Finally, select "Next".
- Input the code you receive on your phone, if this is the option you chose. Then select "Next".
- If done successfully, you'll receive a message that says "Two-Factor Authentication Is On".
How to turn off two-factor authentication
It's relatively easy to turn off two-factor authentication on any of your accounts.
On Facebook, for instance, simply go to "Settings" and then "Security and Login". Find "Use two-factor authentication", click "Edit", and then switch to "Off".
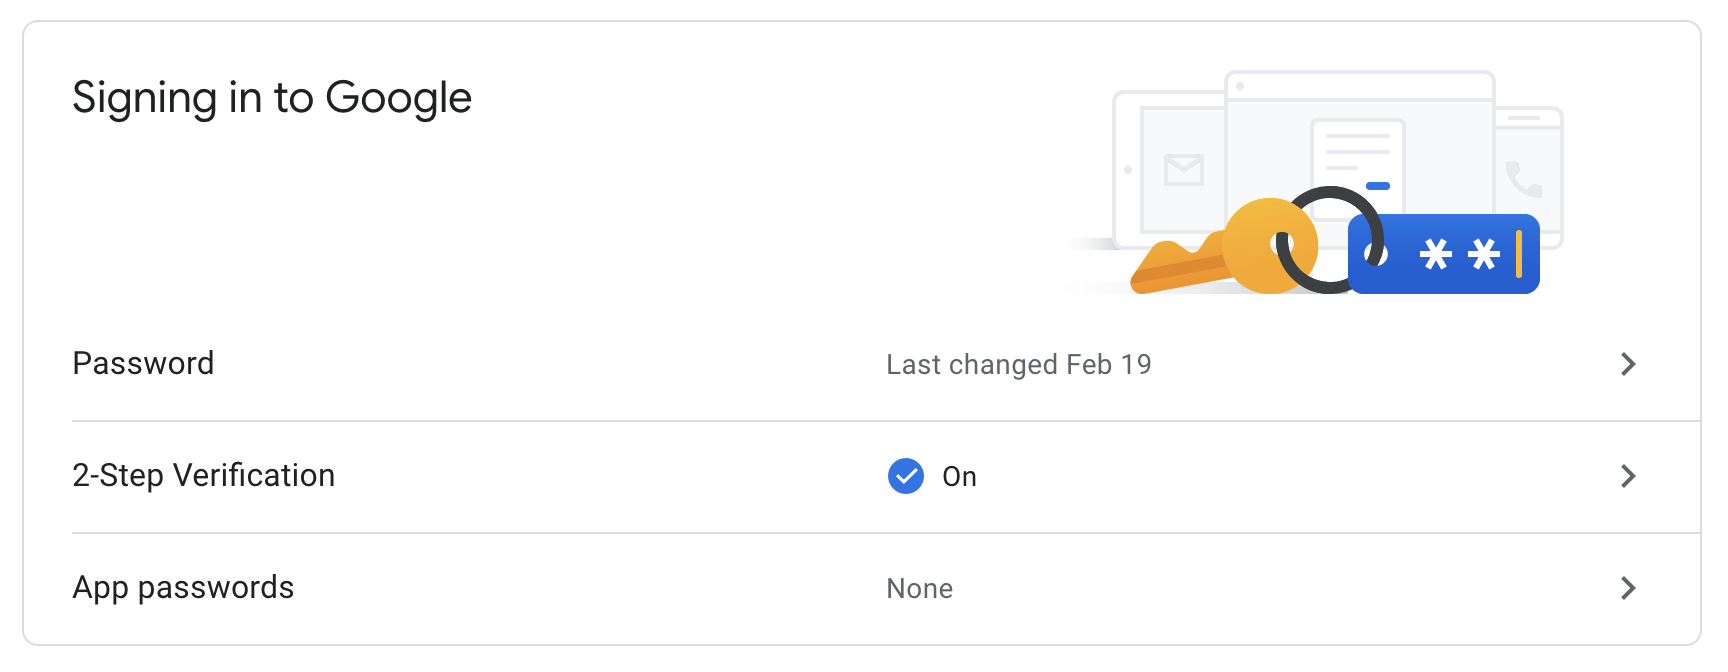
Alternatively, on Gmail, you'll want to go to http://myaccount.google.com. Then, select "Security". Under the "Signing in to Google" section, you'll see "2-Step Verification". Click this section.
 Next, select "Turn Off" to disable 2-Step Verification for your Gmail account.
It's important to note, Apple removed the option to turn off two-factor authentication for Apple IDs created in iOS 10.3 or macOS 10.12.4 and later.
However, you have a two-week period during which you can still disable the function. Simply open your iCloud email account and find the enrollment confirmation email, then click the link to return to your previous security settings.
No comments:
Post a Comment